Monday 30 September 2019

DAY-5


Challenge #1


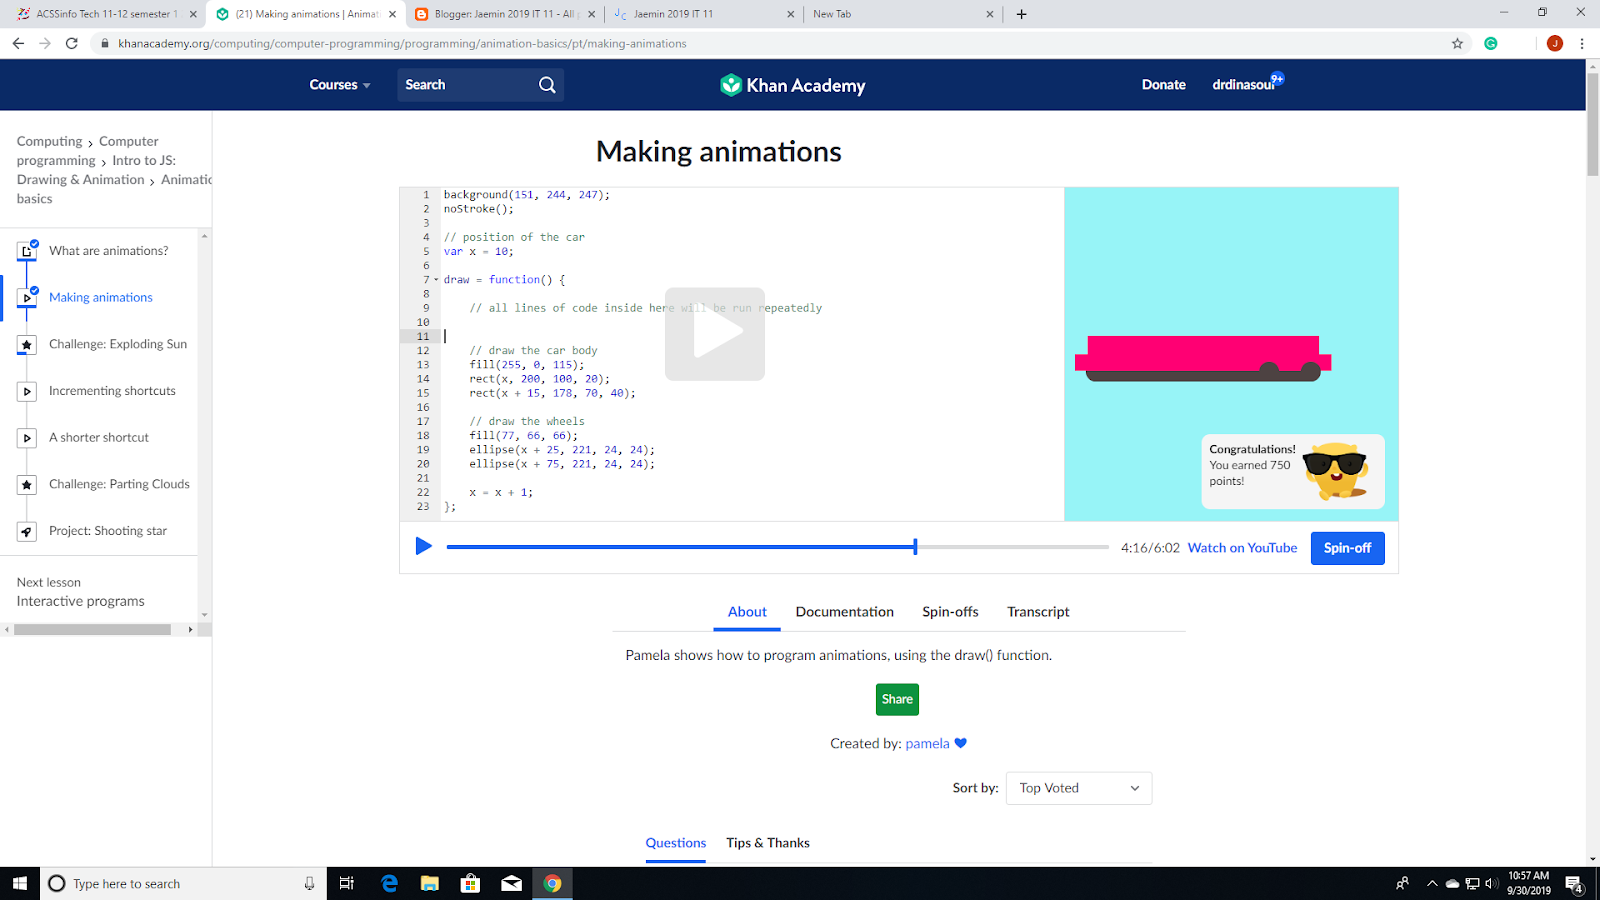
I learned Animation skills.
Using "draw=function" the picture is going to be drawn every second.

Challenge #2


Move the cloud to hide the sun.


Animate the clouds (moving away from the sun)


Animate the sun (getting bigger as the clouds move away)


Tomorrow, I'll be doing the "Shooting Star Project"


Friday 27 September 2019

DAY-4


Today, I learned what variables are and how to use it in coding.
It makes easier to move the drawing by adding and subtracting to the variable.

So far, I learned drawing things and other easier ways to draw things.
Next day I'll be learning what are animations and how to make one of them. 


Thursday 26 September 2019

DAY-3

PROJECT WHAT'S FOR DINNER?


PLATE


STEAK


BURGER BUN


TOGETHER


SESAME


KETCHUP


MUSTARD


Today, I didn't really learn something, but I used what I have been learning in this coding program. I made a burger with good quality steak and buns.

Tomorrow, I'll move on to the next lesson, "Variables."


Wednesday 25 September 2019

DAY-2


Learned how to draw lines and rectangles.
To draw a line I need to set the start point and the finish point.


Learned colouring the background and shape. In order to avoid colouring over everything, the order is very important.


On day 3, I will finish the project
"Project: What's for Dinner?"


Tuesday 24 September 2019

DAY-1


I finished the first challenge, simple snowman, today.
I learned how to draw a circle, how to adjust its size, and where to place it.


Tomorrow, I will be doing the second chapter which is drawing more "Waving Snowman."


PHOTOSHOP SHARK+LEOPARD+CHAMELEON


Friday 13 September 2019

PHOTOSHOP ELEPHANT+GIRAFFE+RHINO


TUTORIAL

1. Go find 2 or more images of animals that you want to make a hybrid
2. Import all the images in each different layers
3. place the image in the place where you want it to be
4. Highlight all the part but the part you are wanting to use
5. Hold Ctrl+Shift and hit "I" to reverse the highlighted part
6. Hold Ctrl and hit "J" to make a layer of the highlighted part
7. Create a colour balance of highlighted (hit the image holding Ctrl key) the image
8. Use the "clone stamp tool (hold Alt then left click to capture)" to make it look real
9. Use other tools such as blur tool, burn tool, and sharpen tool